shirt size measurement guide
A shirt size measurement guide helps ensure a perfect fit by providing clear steps to measure key body dimensions, such as chest, neck, and sleeve length, to match size charts accurately and avoid sizing confusion.
Why Accurate Measurements Matter

Accurate measurements are crucial for ensuring a shirt fits perfectly, avoiding sizing discrepancies across brands, and preventing issues like tightness or looseness. Proper measurements account for fabric stretch, posture, and body shape, ensuring comfort and confidence. They also help decode size charts, navigate brand variations, and avoid common fitting errors, making the process of selecting the right shirt size efficient and stress-free.
Understanding Shirt Size Charts
Shirt size charts provide standardized measurements to help determine the best fit based on body dimensions like chest, neck, sleeve length, and waist. These charts vary by brand and region, with sizes ranging from S to XXL. Comparing your measurements to the chart ensures accuracy, as different brands may have unique sizing standards. Understanding how charts are structured helps you navigate variations and select the perfect shirt size for comfort and style, whether shopping online or in-store.

Key Measurements for Shirt Sizing
Accurate shirt sizing relies on measuring chest, neck, sleeve length, and waist. The chest measurement is taken around the fullest part, while the neck is measured loosely at the base. Sleeve length is from the shoulder to the wrist, and waist is the narrowest point. These dimensions ensure a tailored fit and help match your body to the size chart, making fabric type and style considerations easier for a perfect wardrobe addition.
Understanding Body Measurements
Accurate body measurements are essential for proper shirt sizing. Common measurements include chest, neck, waist, and sleeve length, ensuring a comfortable and tailored fit for all body types.
Neck Measurement: The Basics
The neck measurement is a fundamental aspect of determining shirt size, particularly for dress shirts. To measure accurately, wrap a flexible tape measure around the base of your neck, keeping it loose enough to fit two fingers comfortably. This ensures the collar will neither be too tight nor too loose, providing a comfortable fit. Proper posture is crucial during measurement, as slouching or tilting can lead to inaccurate results. This measurement directly corresponds to the collar size, ensuring a tailored fit for your shirt.
Chest Measurement: How and Why
The chest measurement is essential for determining shirt size, as it ensures the garment fits comfortably without being too tight or loose. To measure accurately, place the tape measure around the widest part of your chest, keeping your arms relaxed by your sides. The tape should be level and not too constricting, allowing for a full breath. This measurement is crucial for selecting the correct size, ensuring the shirt drapes properly across your torso and moves freely with your body, enhancing both comfort and appearance. Accurate chest measurements prevent sizing errors and ensure a flattering fit.
Sleeve Length: Importance and Technique
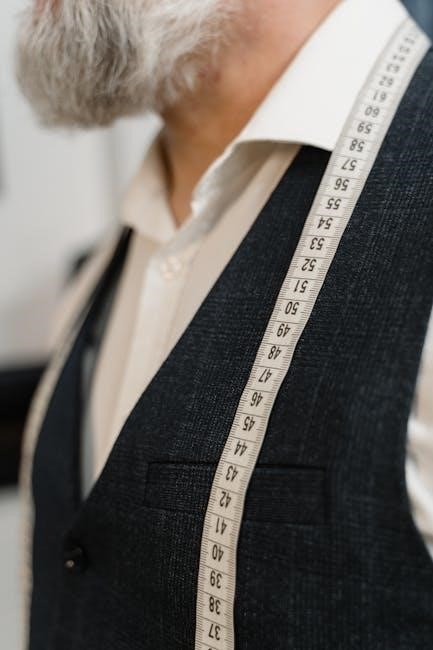
Sleeve length is critical for comfort and appearance. For casual shirts, measure from the shoulder seam to the cuff. For dress shirts, measure from the back of the neck, over the shoulder, to the desired cuff length. Keep your arm relaxed and slightly bent for accuracy. Proper sleeve length ensures the shirt fits well and looks tailored, avoiding sleeves that are too short or overly long. Accurate measurement guarantees a flattering and functional fit.
Waist Measurement: How to Measure Accurately
Measuring your waist accurately ensures a well-fitted shirt. Locate the narrowest part of your natural waistline, typically just above the hipbone. Wrap the tape measure around this area, keeping it level and not too tight. Breathe naturally to maintain a relaxed posture. This measurement helps determine the shirt’s midsection fit, ensuring comfort and a tailored appearance. Accurate waist measurement is essential for both casual and formal shirts to avoid a loose or restrictive fit.

Step-by-Step Guide to Measuring Your Shirt Size
Gather a flexible tape measure and note chest, waist, and sleeve length. Stand straight, measure accurately, and compare with size charts for the perfect fit.
Preparing for Measurements
To ensure accurate shirt measurements, start by gathering a flexible tape measure. Stand upright with your feet shoulder-width apart and arms relaxed. Remove bulky clothing or jewelry that may interfere. Keep your body relaxed—avoid puffing out your chest or sucking in your stomach. Close all buttons on the shirt you’re measuring, if using one. For self-measurement, maintain proper posture and breathe naturally. Consider having someone assist for precise results. Ensure the tape measure is level and not too tight or loose. Proper preparation guarantees reliable measurements, leading to a well-fitting shirt.
Measuring the Chest
To measure your chest, wrap the tape measure around the widest part of your torso, typically just under the armpits. Ensure the tape is parallel to the floor and not too tight or loose. Keep your arms relaxed at your sides and breath naturally. The measurement should be taken with the tape snug but comfortable, providing an accurate reflection of your chest size, which is crucial for determining the best shirt fit based on size charts.
Measuring the Waist
To measure your waist, locate the narrowest part of your torso, typically just above the hipbone and below the ribcage. Wrap the tape measure around this area, ensuring it’s level and not constricted. Keep your body relaxed and avoid holding your breath. The waist measurement is essential for determining shirt fit, especially for tailored styles, and helps ensure the garment sits comfortably without being too tight or loose, aligning with standard size charts for accuracy.
Measuring Sleeve Length
To measure sleeve length, start at the shoulder seam and extend the tape measure down to the wrist bone. For casual shirts, measure to the desired cuff length. For dress shirts, some methods suggest starting from the back of the neck, over the shoulder, and down to the cuff. Ensure your arm is relaxed and slightly bent. Accurate sleeve length ensures comfort and proper fit, aligning with size charts to avoid sleeves that are too short or overly long, enhancing overall garment appearance and functionality.

How to Read a Shirt Size Chart
Reading a shirt size chart involves matching your body measurements to the chart’s dimensions to determine the best fit. Understand size labels and compare your measurements accurately.
Interpreting Size Labels
Interpreting size labels requires understanding the numerical or alphabetical codes used by brands. Common labels include S, M, L, XL, and XXL, corresponding to specific measurements. Each label represents a range of chest, neck, and sleeve lengths. Accurate interpretation ensures the correct fit. Brands may vary, so always refer to their specific charts for precise sizing. Matching your measurements to these labels helps in selecting the ideal shirt size effortlessly.
Comparing Measurements to Size Charts
Comparing your measurements to size charts ensures a precise fit. Align your chest, neck, and sleeve measurements with the chart to identify your size. Note that brands may vary, so always reference their specific charts. Pay attention to fit types (slim, regular, loose) and fabric stretch. Matching your data accurately helps avoid sizing errors and guarantees a shirt that fits comfortably and looks great. This step is crucial for online shopping and custom tailoring alike.
Understanding Fit Types (Slim, Regular, Loose)
Understanding fit types—slim, regular, and loose—helps you choose a shirt that matches your comfort and style preferences. Slim-fit shirts are tailored closely to the body, while regular fit offers a classic, relaxed silhouette. Loose-fit shirts provide maximum comfort with ample room. Each fit type caters to different body types and lifestyles, ensuring optimal comfort and aesthetics. Fabric choice and measurement accuracy further enhance the fit, making it essential to consider these factors when selecting your shirt size.
Impact of Fabric and Fit on Shirt Size
Fabric and fit significantly influence shirt size accuracy. Different fabrics stretch or drape uniquely, affecting how measurements translate to size. A well-fitting shirt balances comfort and aesthetics, ensuring optimal wearability and confidence.
Fabric Types and Their Effect on Fit
Different fabrics significantly impact shirt fit. Stretchy materials like cotton-poly blends offer flexibility, while non-stretch fabrics like linen require precise measurements. Knit fabrics, such as those used in T-shirts, cling to the body, necessitating accurate chest measurements. The weave and weight of fabric also influence drape and comfort. Understanding how fabrics behave ensures a shirt that fits well and feels great, whether for casual or formal wear.
How Different Fabrics Affect Measurements
Various fabrics can alter how measurements translate to shirt sizes. Stretchy fabrics like spandex may require tighter measurements, while loose-weave fabrics like linen need a bit more room. Cotton shrinks slightly after washing, affecting chest and sleeve lengths. Knit fabrics, such as those in T-shirts, fit snugly, so precise chest measurements are crucial; Understanding fabric behavior ensures accurate sizing and a comfortable fit, whether you’re choosing casual or formal shirts.
Brand Variations in Shirt Sizing
Shirt sizes vary significantly across brands due to differences in measurement standards, fit preferences, and target demographics, making it essential to refer to each brand’s specific size chart for accuracy.
Why Sizes Vary Across Brands
Shirt sizes differ across brands due to varying measurement standards, fit objectives, and target audiences. Some brands cater to specific body types, while others use unique sizing systems or fabric stretch to create tailored fits. This inconsistency means your size can change between brands, making it crucial to consult each brand’s size chart for accurate measurements and the best fit.
How to Navigate Different Brand Sizing Charts
To navigate varying brand sizing charts, always measure yourself accurately and compare your measurements to the specific chart provided by each brand. Pay attention to their fit descriptions, as terms like “slim” or “relaxed” can significantly affect sizing. Use your chest, neck, and sleeve measurements as primary references, and consider fabric stretch when selecting sizes. Checking customer reviews for fit feedback can also help ensure the best fit for your body type.

Tips for Accurate Measurements
Use a flexible measuring tape, maintain proper posture, and relax your body to ensure precise measurements. Avoid over-tightening the tape and measure at natural points for the best fit.
Using a Flexible Measuring Tape
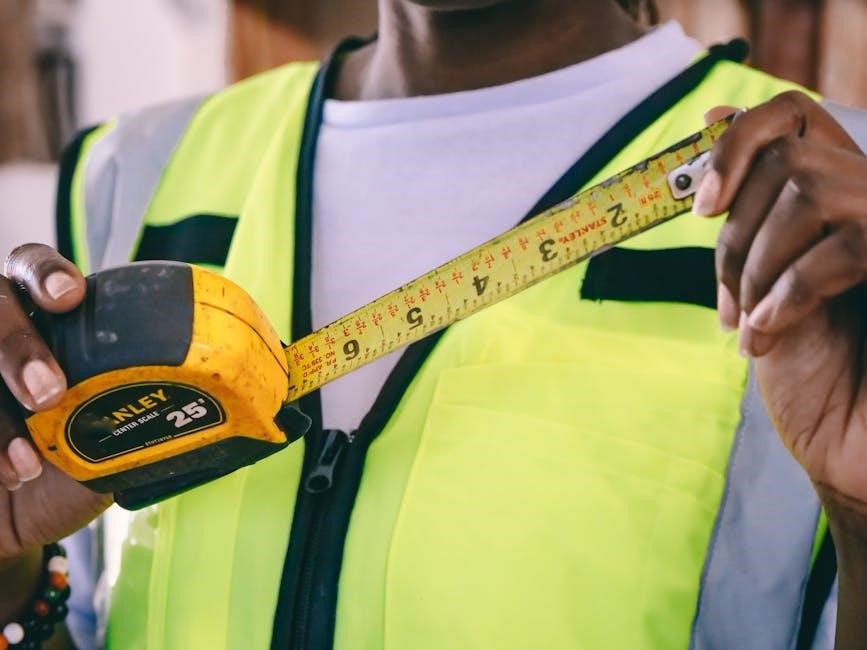
A flexible measuring tape is essential for accurate shirt measurements. It allows you to wrap around curved areas like the chest and neck without slipping or causing discomfort. Ensure the tape isn’t too tight or loose, as this can lead to incorrect sizing. When measuring, keep the tape level and parallel to the floor for consistent results. This ensures your measurements are precise and reliable for selecting the right shirt size.
Ensuring Proper Posture
Proper posture is crucial for accurate shirt measurements. Stand up straight with your feet shoulder-width apart and shoulders relaxed. Avoid slouching or leaning, as this can distort results. Keep your body relaxed—don’t puff out your chest or flex your muscles. Ensure the fabric lies flat against your skin for consistent measurements. This posture ensures the tape measure remains level and accurately reflects your true dimensions, leading to a better fit.
Measuring in a Relaxed State
Measuring in a relaxed state ensures accurate results. Avoid flexing muscles or holding your breath, as this can distort measurements. Keep the measuring tape snug but not tight, allowing it to move slightly. Stand naturally, with your body in a neutral position, and avoid pulling the tape too taut. This helps maintain consistency and ensures the shirt fits comfortably without being restrictive. Natural posture and relaxed muscles are key to precise measurements.
Common Mistakes to Avoid
Avoid common mistakes like over-tightening the tape, measuring the wrong areas, and ignoring fabric stretch, ensuring accuracy for the best fit.
Over-Tightening the Measuring Tape

Over-tightening the measuring tape is a common mistake that leads to inaccurate shirt size measurements. This can result in a shirt that fits too tightly, causing discomfort and restricted movement. To avoid this, ensure the tape is snug but not constricting, allowing for a full range of motion. Keep your body relaxed and avoid puffing out your chest or flexing muscles, as this can distort the measurements. Proper technique ensures a comfortable and accurate fit.
Measuring the Wrong Body Parts
Measuring the wrong body parts is a common error that can lead to ill-fitting shirts. For example, measuring the stomach instead of the chest or the bust instead of the natural waistline can result in inaccurate sizes. Ensure the tape measure is placed correctly—around the widest part of the chest, the narrowest waist, and the correct sleeve length—to avoid this mistake and achieve a proper fit. Accuracy is key for a comfortable and flattering shirt.
Ignoring Fabric Stretch
Ignoring fabric stretch can lead to poor fit, as different materials have varying elasticity. For instance, stretchy fabrics like spandex require less room, while non-stretch fabrics like cotton need more. Always consider the fabric type when measuring to ensure comfort and proper fit. Consult the brand’s size chart and adjust measurements accordingly for stretchy fabrics to avoid shirts that are too tight or too loose, ensuring a flattering and comfortable wear.

International Size Comparisons
Shirt sizes vary across regions, with differences in measurement standards and fit preferences. Understanding US, UK, and EU size differences helps in converting measurements accurately for a perfect fit.
US vs. UK vs. EU Size Differences
Shirt sizes differ significantly across US, UK, and EU standards due to varying measurement systems and fit preferences. The US typically uses numerical sizing, while the UK and EU often use collar sizes. Chest measurements are a key factor, with each region applying unique formulas. For instance, a US medium may equate to a UK 38-40 cm collar size and an EU size 42. Understanding these conversions ensures accurate purchases and tailored fits.Regional sizing charts must be consulted carefully to match body measurements with appropriate sizes, avoiding discrepancies. This guide provides a clear comparison to simplify international size navigation.
Converting Measurements Across Regions
Converting shirt measurements across regions requires precise adjustments due to differing standards. For example, a chest size of 40 inches in the US corresponds to approximately 50 cm in the EU and a 16-inch collar in the UK. Sleeve lengths also vary, with US measurements often 1-2 cm shorter than EU standards. Using regional size charts, such as comparing US, UK, and EU sizing grids, helps align measurements accurately. This ensures a consistent fit regardless of the brand’s origin, simplifying international shopping and reducing sizing errors.

Custom Tailoring and Shirt Size

Custom tailoring ensures a perfect fit by using precise measurements tailored to your body. Work with a tailor to create a shirt that matches your unique dimensions accurately.
How to Work with a Tailor
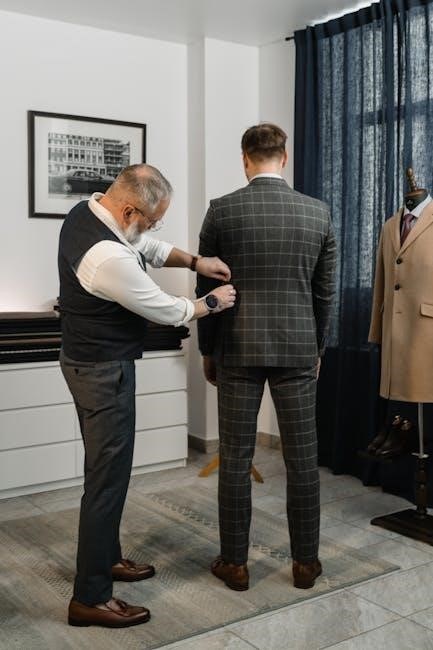
Working with a tailor ensures a custom-fit shirt. Provide accurate body measurements, including neck, chest, sleeve length, and waist. Discuss your preferred fit type—slim, regular, or loose. Review fabric options and patterns. Share reference shirts for guidance. Ensure proper posture during measurements. Some tailors may require additional measurements, like bicep or elbow. Be clear about alterations needed. This collaboration results in a shirt tailored to your unique body and style preferences.
Additional Measurements for Custom Shirts
Custom shirts often require extra measurements for precision. Measure the bicep, elbow, and forearm for sleeve accuracy. Note the back length from collar to hem for fit. Shoulder width across the yoke ensures proper alignment. Some tailors request hip measurements for tapered styles. Fabric stretch and posture should be considered for optimal comfort. These details ensure a shirt tailored to your unique physique and preferences, enhancing both comfort and appearance.
Mastering shirt size measurement ensures a perfect fit, boosting confidence and comfort. Accurate measurements and understanding size charts simplify shopping, making every purchase a success.
Final Thoughts on Shirt Size Measurement
Accurate shirt measurements are key to a perfect fit, ensuring comfort and confidence. By understanding size charts and fabric impact, you can make informed choices. Proper techniques and avoiding common mistakes guarantee the best results. Whether shopping off the rack or opting for custom tailoring, precise measurements simplify the process, ensuring your wardrobe reflects your personal style and preferences effortlessly.
Resources for Further Reading
For deeper insights, explore guides like WikiHow’s How to Measure Your Shirt Size and mens shirt size charts from fashion retailers. Visit tailor resources and apparel blogs for expert tips on fabric types, fit variations, and international sizing differences. Official brand websites often provide detailed measurement guides, ensuring accurate fits. These resources complement this guide, offering a comprehensive understanding of shirt sizing and fit.
Related Posts

scouts guide to the zombie apocalypse boob
Discover the ultimate zombie survival tips and hilarious adventures with the scouts! Your go-to guide for apocalypse prep and laughs.

th3210d1004 installation guide
Learn how to install your TH3210D1004 with our comprehensive, easy-to-follow guide. Get your device up and running effortlessly!

nami waiver guide
Discover the ultimate Nami Waiver Guide, packed with step-by-step instructions and expert tips to help you navigate the process effortlessly. Get approved faster with our comprehensive guide.